I have carried this Clinchfield Cheese Wafers recipe around for decades. Isn’t it funny how we do that? When I was still in college (remember the 70’s?), and was home for summer break, I would sometimes go with my Mom to her her Loblolly Pines Garden Club meetings. Actually, I think that I only went twice, but it was fun and there were always yummy snacks served. Don’t even ask me what they talked about, because I have no clue. But I do remember these cheese things. I say “things” because they were prepared as cheese straws, but Mom’s notes on the recipe card had the directions for straws crossed out and she wrote in her own instructions for making them into a wafer-like shape. I chose to do what my Mom says–that is always a good thing.
These freeze well for future use, so you can make them ahead of time and be one step closer in your party prep. I don’t think mine will make it to the freezer, though. My husband tasted one and was pretty much hooked, so we have been eating some every day since I made them. They are good at room temp, but we like to crisp them up in the toaster oven.
Next time you need to make a finger food for a book club, baby shower, etc., you should make some of these. Your friends will be impressed and might even ask you for the recipe. Feel free to share and make them in any form you want. Maybe I will try the straws next time. Oh yes, there will be a next time and here is how they might look.
You know, it might be a good idea to crisp these up and put them in some creamy tomato soup, or maybe add them to a salad!
Clinchfield Cheese Wafers
- October 28, 2021
- Print this

Ingredients
- 2 cups extra sharp cheese, grated
- 1 teaspoon baking powder
- 1 1/2 cups all-purpose flour
- 1 stick of butter, softened
- Cayenne pepper to taste
Directions
- Step 1
- Preheat oven to 350° F.
- Step 2
- Mix all ingredients together in a medium bowl.
- Step 3
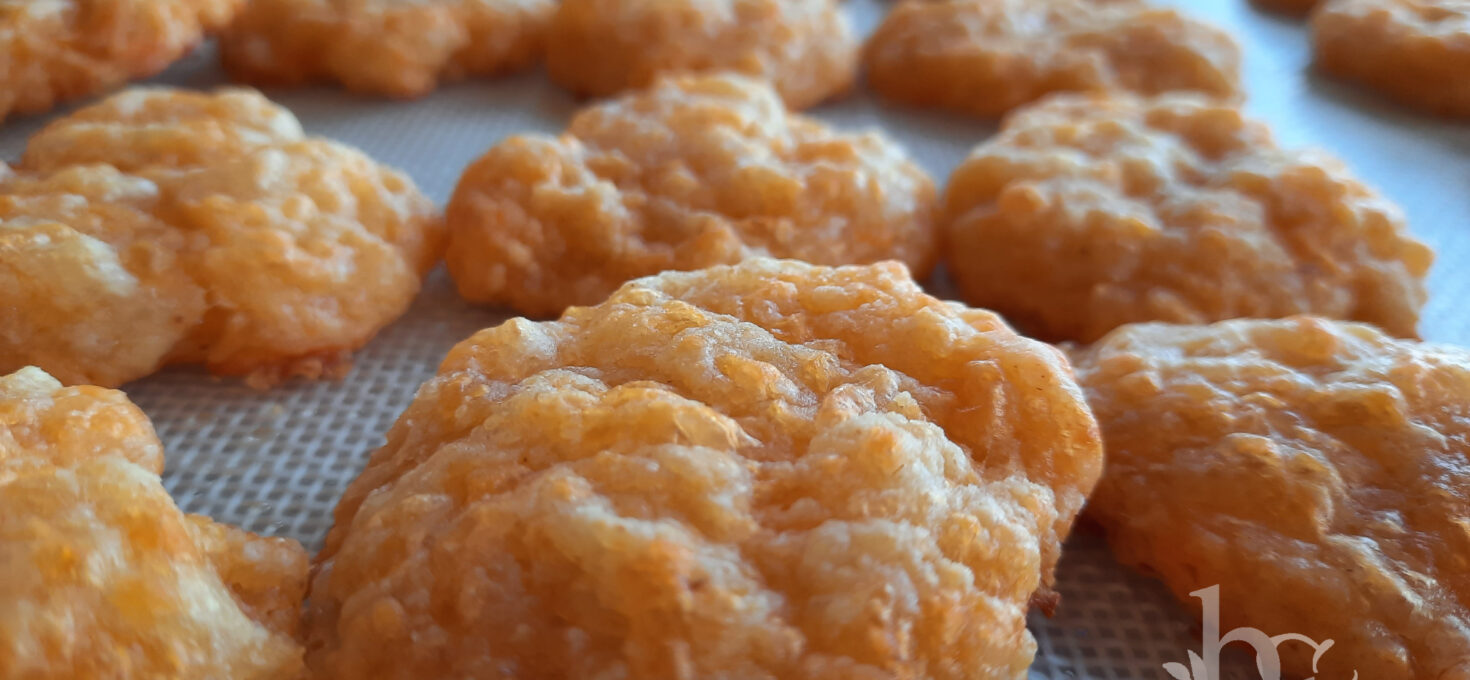
- Form dough into small balls, place on a baking sheet lined with parchment paper or silicone baking mat. Flatten each ball by pressing with a fork in a cross hatch pattern–like when you make peanut butter cookies. You could also use a cookie press.
- Step 4
- Bake for 12-15 minutes.