These tasty cakes from Australia are a rich and tasty dessert treat!
Because it had been a hot minute since I’d done any blog cooking, I decided that for a recent family beach trip I’d have my kids pick some recipes for me to make. My oldest picked Lamingtons, an Australian-born cake treat. Having vaguely heard of them but never having eaten one, I was pretty intrigued.
But when I looked at the recipe she sent me from Haniela’s website, I admit to being a little intimidated. Filled, chocolate-drenched, and coated? Seemed like a lot of work.
But I had promised so I had to do it right? It would probably be pretty good. How can you go wrong with chocolate, Nutella, and coconut?
I have to say that the whole process was far less complicated than I had anticipated. Multi-step? Yes. But complicated? No. I think the key is to keep the chocolate coating warm. I failed to do this. Consequently, I had some pretty heavy chocolate coatings on the later Lamingtons. Not that that’s a bad thing, but it did mean that I ran out of coating before I could cover all the cakes. Next time, I’ll sit the bowl of glaze over another bowl of very warm water.
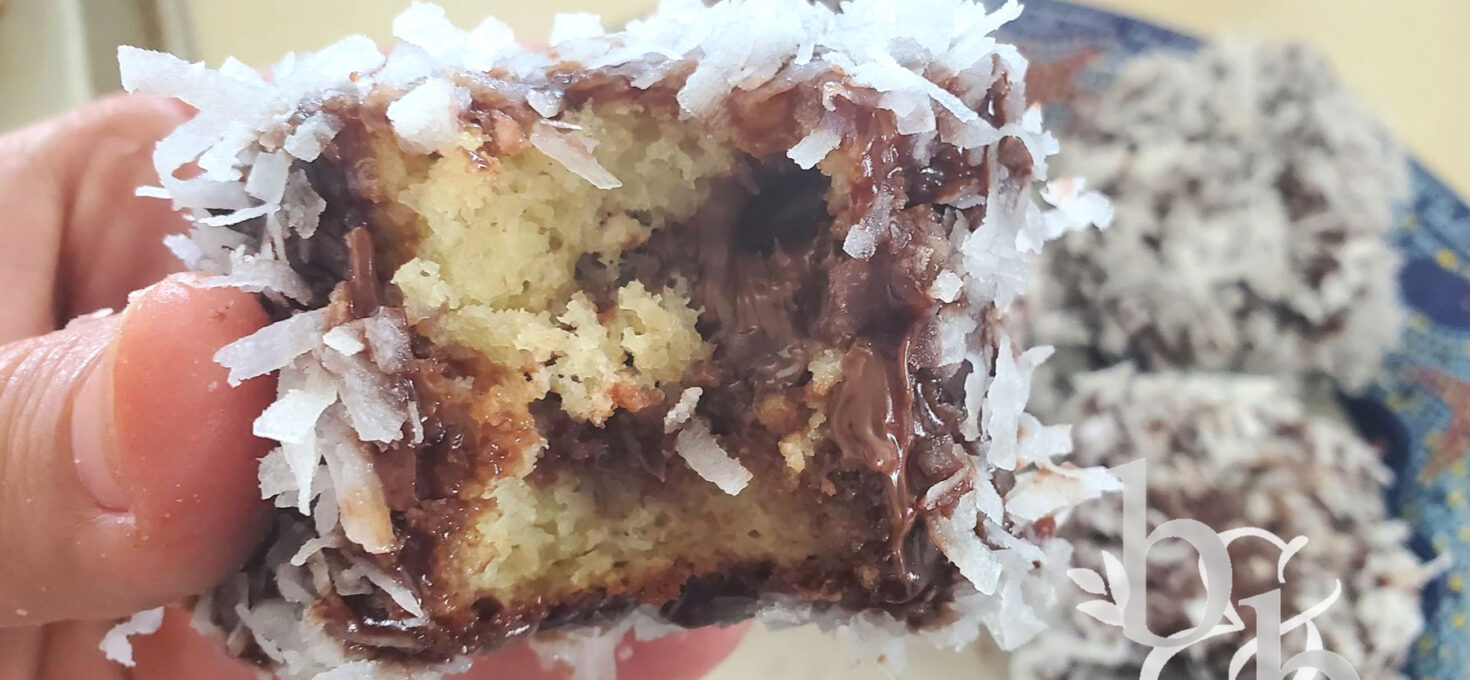
Much as I love Nutella, I believe that the chocolate coating demands a creamier filling. Of course, you don’t have to fill them at all! Trust me, that chocolate coating is seriously delicious. But I think a creamy white filling would be delicious.
Of course, I can’t help but imagine some fun variations like marshmallow filling, milk chocolate coating, and a roll in some graham cracker crumbs. Oh, and the texture of the outside of these tasty cakes reminds me so much of Red Zingers, so I really want to figure out a way to make those. Sorry, Aussie friends, if this is blasphemous.
While I could not find dessicated coconut at the store near our vacation spot, I would definitely recommend getting some. Order online from Amazon or another online store if you have too. I think that it would make the whole process a lot less messy. However, the end results was tasty with our without the perfect coconut. And if you are a coconut lover like me, why not try this classic coconut cake too?
Here are a few pictures of the process, just to give you a little visual explanation of the steps involved. Enjoy, and comment here if you make them…especially if you end up doing some kind of variation. I’d be very interested in hearing about it!


Lamingtons
- June 1, 2020
- 24 little cakes
- Print this

Ingredients
- Sponge Cake
- 2 1/3 cup all-purpose flour
- 1 Tbsp. baking powder
- 1/2 tsp. salt
- 4 eggs, room temperature
- 1 1/4 cup powdered sugar
- 6 Tbsp. vegetable oil
- 2 Tbsp. honey
- 1 tsp. vanilla extract
- 1 cup milk, room temperature
- Chocolate Glaze
- 2 1/2 cup powdered sugar
- 1/2 cup unsweetened cocoa powder
- 6 Tbsp. milk
- 1 cup unsalted butter, but into tablespoon-sized pieces
- 1/2 tsp. vanilla extract
-
- Nutella for filling
- dessicated coconut for rolling glazed cakes in
Directions
- Step 1
- Preheat oven to 350 degrees F.
- Step 2
- Grease a 9″x13″ pan and line the bottom with parchment or wax paper, greasing the paper as well.
- Step 3
- Whisk together the flour, baking powder, and salt. Set aside.
- Step 4
- In a large bowl beat the eggs and powdered sugar together with a hand mixer for 3-5 minutes or until pale in color. Gradually beat in the oil until well combined. Add the honey and vanilla and beat well.
- Step 5
- With the mixer on medium, alternate in the flour mixture and the milk, beginning and ending with flour and scraping down the sides of the bowl as you go.
- Step 6
- Pour the batter into your prepared baking pan and spread the batter evenly.
- Step 7
- Bake for 20-25 minutes or until a toothpick inserted into the center comes out clean or with just a crumb or two. Cool in the pan for 10 minutes, then invert onto a cooling rack to cool completely.
- Step 8
- Place your cake onto a safe cutting surface. Trim the edges of the cake all the way around to remove the rough edge (about 1/4-1/2″). Cut the cake into squares in a 4 x 6 grid.
- Step 9
- Scoop some Nutella (I probably used about a cup and a half) into a pastry bag fitted with a long filling tip. Fill the cakes by poking in from the side with the tip and squeezing the bag. Don’t overfill, the cakes will spit out what they don’t have room for!
- Step 10
- To make the chocolate glaze, combine the powdered sugar, cocoa, and milk in a saucepan. Heat on low heat until melted and smooth.
- Step 11
- Gradually add the cut-up butter a little at a time, whisking as you go, until the butter is all melted.
- Step 12
- Remove from heat and whisk in the vanilla.
- Step 13
- Place filled cakes one at a time into the glaze, covering completely using to forks to carefully turn the cake over. Keep a spoon handy to pour glaze over any spots that are hard to get.
- Step 14
- Lift out each cake when it’s fully glazed and place in a bowl with your coconut. With your hands, coax the coconut over the top and sides. Then, when enough of the glaze is covered with the coconut so that you can touch the cake, you can pick it up and roll it around to cover any sparse spots. Set cakes onto waxed paper while you finish the rest.
- Step 15
- You can store them in the fridge for a week or so. At room temperature they will last about half that long.